Inventory Management
The Inventory Management module gives you complete control over your stock. Track every item across categories, get alerted before you run out, adjust stock levels instantly, and move inventory between branches — all from one place, with a full audit trail behind every action.
Key Highlights of Inventory Management
1. Add Stock
Manually add stock at any time — when new goods arrive, after a purchase entry, or for any other reason. Stock levels update instantly the moment an entry is saved.
2. Remove Stock
Write off stock for damage, expiry, wastage, or any other reason. Every removal is logged with a reason and timestamp, keeping your records clean and accurate.
3. Automatic Stock Updates on Sales & Purchases
When a sale is made, stock is automatically reduced. When a purchase is recorded, stock is automatically added. No manual entry needed — the system keeps your inventory in sync with every transaction.
4. Stock Adjustments
Correct stock levels whenever a discrepancy is found — whether from a manual count, damage, or expiry write-off. Every adjustment is tracked with a reason so nothing goes unaccounted.
5. Low Stock Alerts
Set a minimum stock level for each product. When stock drops below the threshold, the system alerts you automatically — so you reorder before a stockout disrupts your operations.
6. Categories
Organize products into categories for faster search, cleaner reports, and better stock control. Whether you run one location or multiple branches, categories keep your inventory structured and easy to manage.
7. Stock Transfer to Branches
Move stock between branches with a proper transfer workflow. Generate a transfer permit, track the shipment in real time, and let the receiving branch approve or decline the inward — stock levels update automatically on both ends.
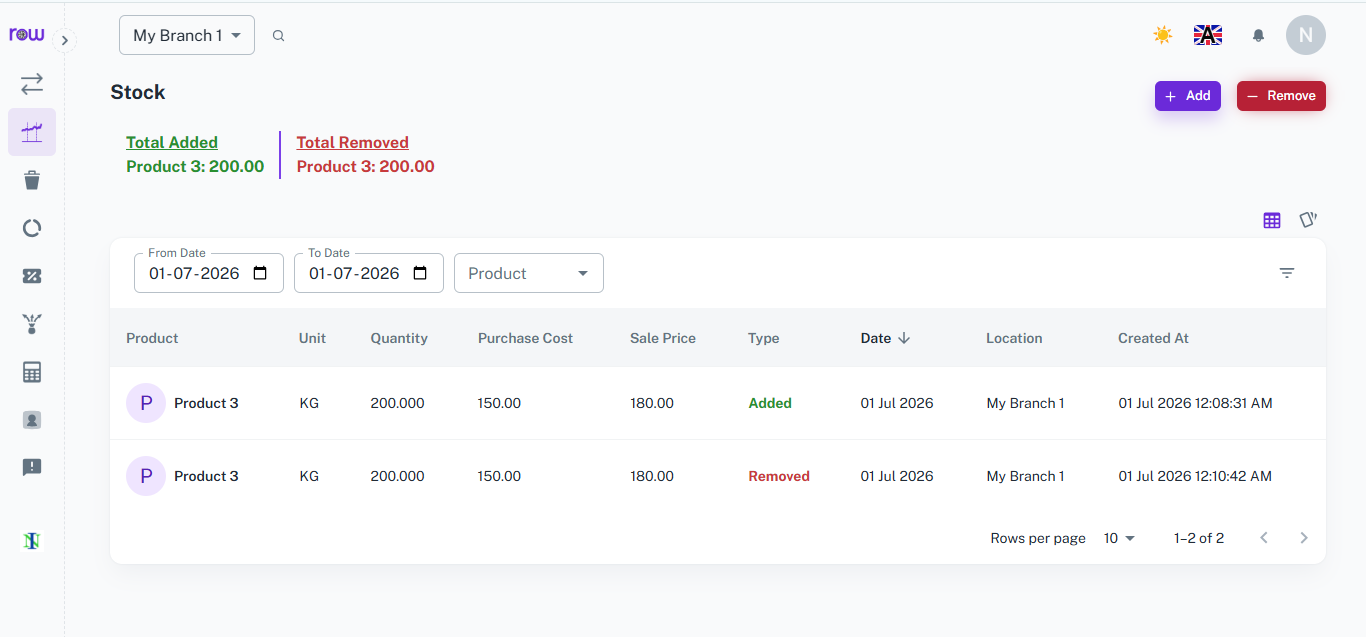
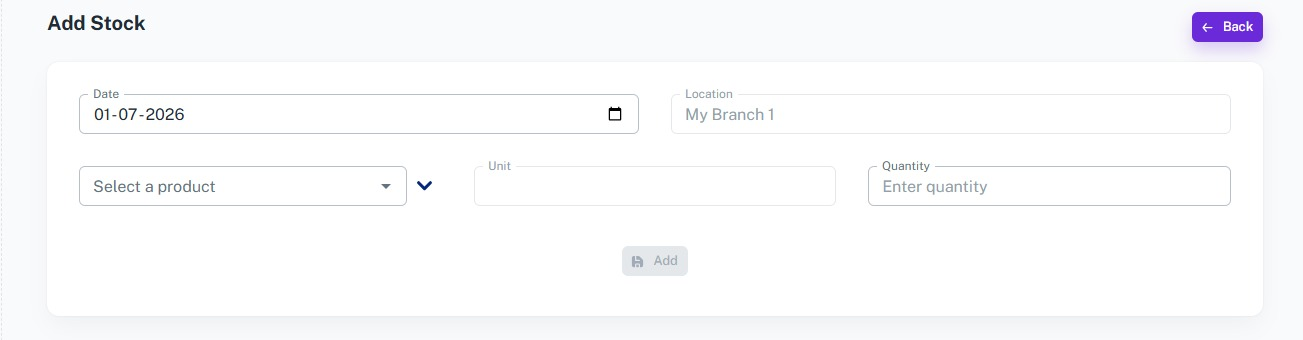
Add Stock
Overview
The Add Stock form lets managers record new inventory directly into the system, keeping stock levels accurate every time supplies come in.
Key Highlights:
- Date Selection
- Branch Location
- Product Selection
- Unit & Quantity
How It Works
- Select the date the stock is being added.
- The branch location is auto-filled based on where you're working.
- Choose the product from the dropdown list.
- Enter the unit and quantity received, then click Add.
Workflow
When new stock arrives, the manager opens Add Stock, selects the product, enters the quantity and unit, and saves the entry. The stock count updates instantly, ready for use in kitchen operations.
Remove Stock
Overview
The Remove Stock form allows managers to deduct inventory when stock is used, wasted, or transferred, keeping stock counts reliable.
Key Highlights
- Date Selection
- Branch Location
- Product Selection
- Unit & Quantity
How It Works
- Select the date the stock is being removed.
- The branch location is auto-filled based on where you're working.
- Choose the product from the dropdown list.
- Enter the unit and quantity remove, then click Remove.
Workflow
When stock is used, wasted, or moved out, the manager opens Remove Stock, selects the product, enters the quantity and unit, and saves the entry. The stock count updates instantly to reflect the deduction.
How It Works
1. Set up categories and products
Create product categories and add your items with details like name, unit, and minimum stock level. This forms the foundation of your inventory.
2. Stock moves automatically with sales and purchases
Every sale reduces stock. Every purchase adds stock. The system handles it in the background — no double entry, no manual updates.
3. Add or remove stock manually when needed
When goods arrive outside a purchase order, add stock directly. When items are damaged, expired, or wasted, remove them with a reason. Every action is logged.
4. Monitor stock levels and alerts
The dashboard shows current stock across all products and locations. Low stock alerts notify you the moment any item falls below its set threshold.
5. Make stock adjustments
When physical counts don't match the system — raise a stock adjustment with quantity and reason. The system updates the stock and logs the correction.
6. Transfer stock to branches
Initiate a stock transfer, select the products and quantities, and generate a transfer permit for the driver. The receiving branch reviews and approves or declines the inward.
7. Receiving branch approves the inward
Once the goods arrive, the receiving branch verifies quantities and approves the transfer. Stock is added to their inventory automatically. If there's a problem, they decline — and the transfer returns to the sender for review.
Workflow
Every product in the system carries a live stock count. When a sale is made, stock drops automatically. When a purchase is recorded, stock rises automatically. If goods arrive outside a purchase, staff add stock manually. If items are damaged or expired, they are removed with a reason and logged. When stock falls below the minimum level, an alert is triggered so reordering can happen in time. For branch transfers, a permit is generated, the shipment is tracked, and the receiving branch approves the inward — updating stock on both ends the moment it's confirmed.